The project notebook
Restaurant furniture layout: turn a measured room into a readable schedule
A measured restaurant plan and a furniture schedule answer different questions. The plan shows where the selected pieces are intended to go. The schedule identifies their exact versions and quantities. Connecting those records makes a room budget easier to check, because every priced line has a place and every planned piece has an identity.
Begin with the current room information, not a collection of attractive product images. Fixed features, service activities, and the intended seating mix establish the brief. The furniture selection then develops within that brief, with unresolved dimensions or approvals left visible instead of replaced by assumptions.
Open diagram at full size (new tab) ↗
Establish which plan is current
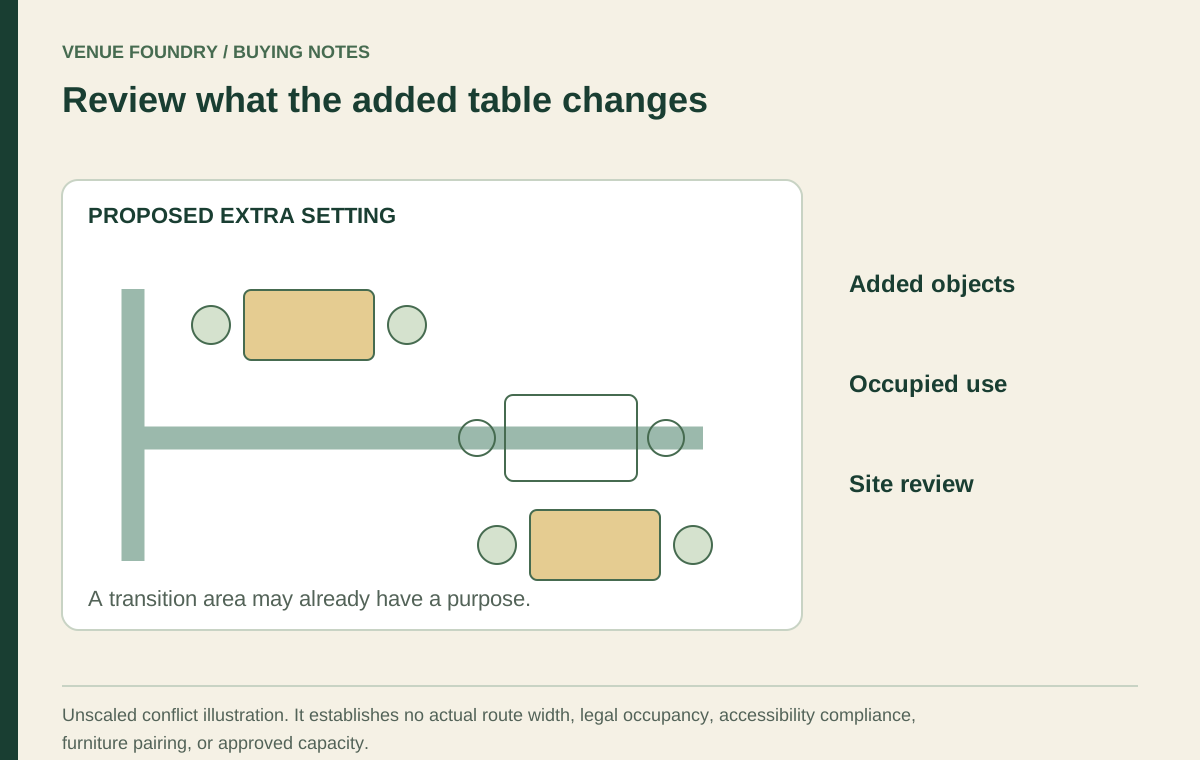
Name the room and retain the date or revision of the measured plan being used. Record fixed features that affect the furniture arrangement, including columns, counters, doors, and built-in elements. A later change to one of these features may affect only part of the schedule, but the connection needs to be traceable.
Use the planning guide for advice on quantities, room groups, and the wider layout review. The website's project tools support selections and room groups; they do not establish legal occupancy or replace an appropriately reviewed layout. Keep those approvals with the wider project records.
When a drawing has missing information, identify the measurement that is needed. Do not fill a gap by scaling a lifestyle photograph or assuming an adjacent room is identical. A clearly named open question is easier to resolve than an undocumented dimension that has already entered the budget.
Divide the room by use, not by arbitrary labels
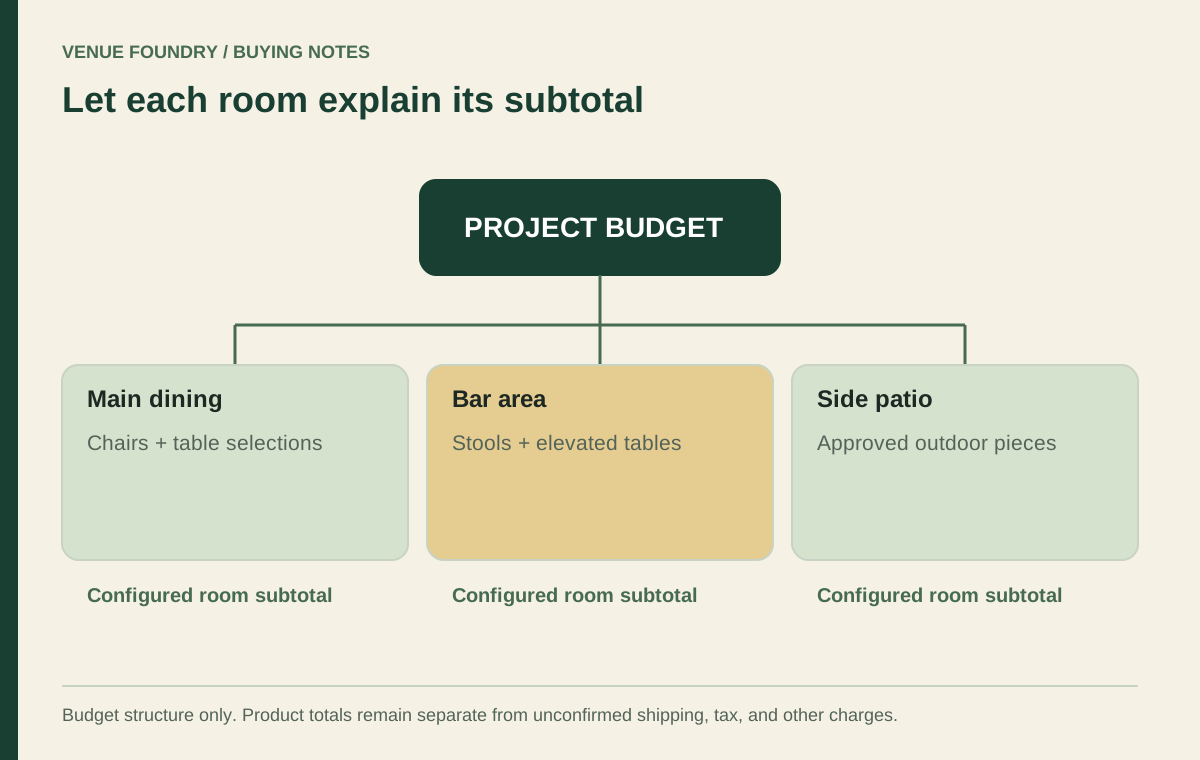
Create zones that correspond to actual activities or areas. Main dining, counter seating, private room, and patio can be useful when they describe the venue. The names should also make sense to the person receiving the furniture schedule later.
Browse the furniture directory by product type, then assign the selections to those zones in the budget planner. The same chair model can appear in more than one area, but its quantity or selected finish may differ. Keep those differences on separate configured lines.
A zone does not need a unique furniture style to deserve its own record. It may have a different table mix, a distinct receiving phase, or an outdoor-use requirement. The grouping should explain the decisions that a combined project total would otherwise hide.
Replace generic furniture symbols with product dimensions
Once a candidate is selected, compare its listed dimensions with the plan. A generic chair symbol can stand in for an idea during early design, but it should not remain the only dimensional reference when the buyer is ready to order.
The October 17, 2026 record for chair FRU-401070 lists an overall width of 17 5/8 inches. The related armchair FRU-401070-AR lists 20 3/8 inches. Substituting one for the other changes the selected product's outline even before the occupied position is reviewed.
Use the armchair relationship guide for the distinction between outside dimensions and the space used by a guest. The relevant project team must still review movement and access. A product rectangle placed on a drawing does not answer every question about use.
Reconcile seating with the complete table system
Identify the restaurant tables associated with each zone. Where the selection uses separate tops and bases, keep both component records visible. A plan can show a table position while the schedule still omits its support.
The table system guide explains how to compare complete units and separate components. Confirm the actual selected size and intended pairing. A similar surface color does not establish that a top and base are compatible.
For bar stools, retain the measured counter relationship rather than borrowing the dimensions from a standard dining zone. For booths, record the unit form, orientation, and associated table. Each system needs a schedule that describes what will actually be supplied.
Count a worked example without calling it a room approval
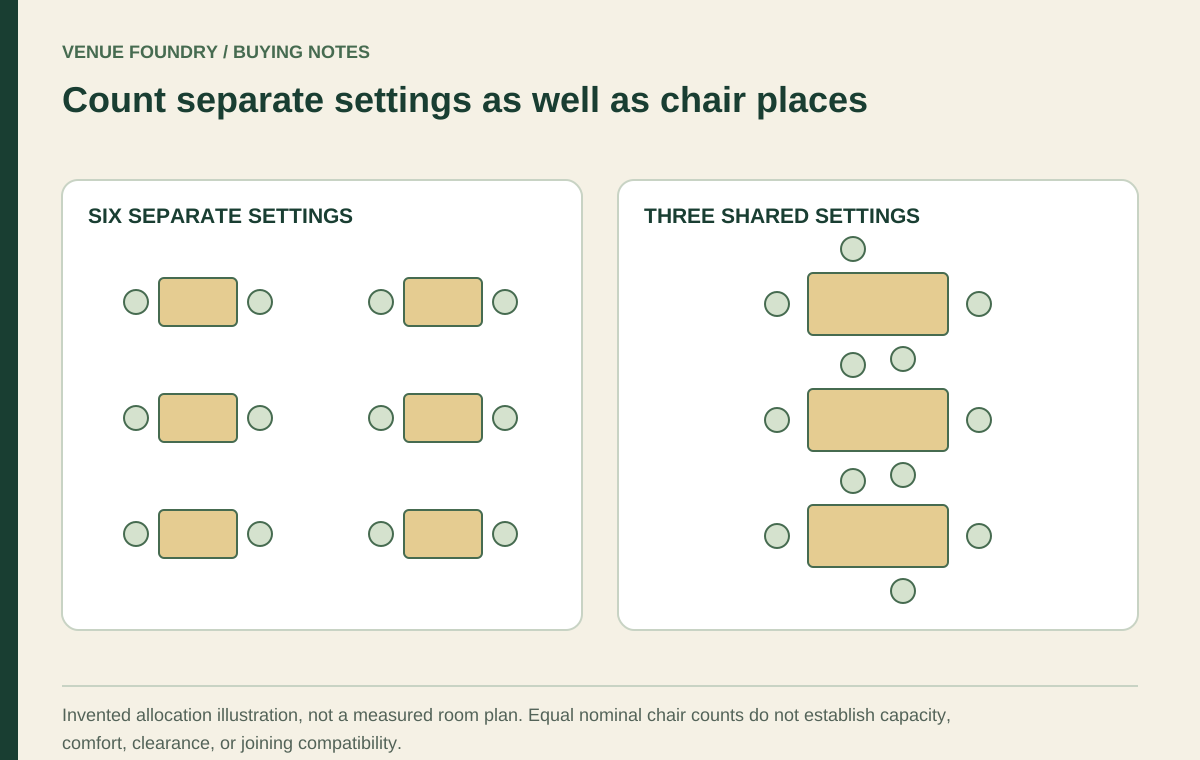
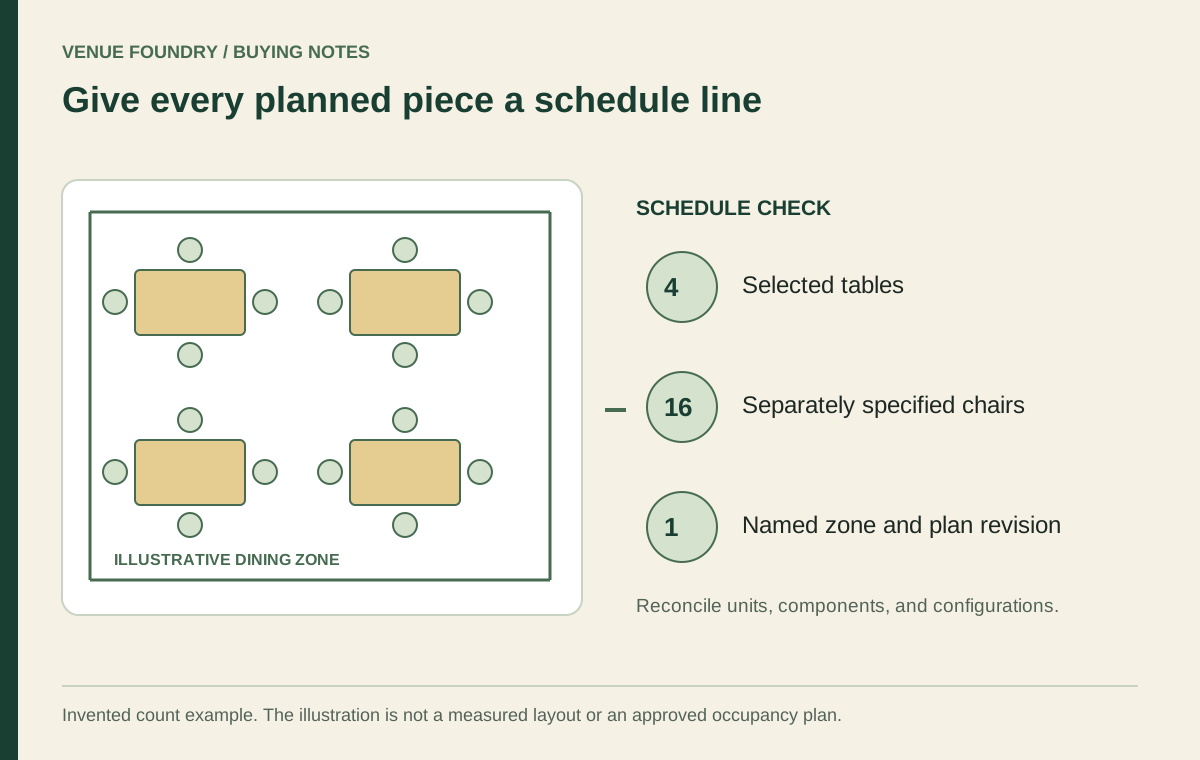
Consider an illustrative schedule with four selected tables and four separately specified chairs assigned to each table. The arithmetic creates 16 chair units and four table units. It does not establish that those pieces fit a particular room or that the arrangement has any approved capacity.
If each table is assembled from a separately supplied top and base, the schedule may need four top units and four base units rather than four complete-table units. Confirm the actual product scope before applying that count. The example demonstrates reconciliation, not a universal component rule.
Now add a distinct counter zone. Its stool count should come from that zone's reviewed arrangement, not from the dining-table arithmetic. Keeping the two groups separate makes a later quantity change easier to check without rewriting unrelated lines.
Check set quantities during the same reconciliation. A listed furniture set can contain several pieces, so the number entered in the product control and the number drawn on the plan may use different units. Preserve both meanings in the review instead of silently converting one to the other.
Review copied rooms as new arrangements
Duplicating a saved room can preserve the models, selected finishes, quantities, and notes that made the first version useful. The copy still needs a review against the next room's measurements and service brief. Identical saved furniture does not prove identical requirements.
The existing project checklist supports that review. Rename the copy, inspect each configuration, and remove notes that refer only to the original area. Save the changes before downloading a new sheet so the shared document reflects the version under discussion.
Use the room budget article to compare the resulting subtotals. A change in one zone should be visible as a changed quantity, configuration, or selected amount. That is more informative than showing only a new project total.
Give the schedule a clear boundary
Before the purchasing review, compare the saved rooms with the current plan revision. Check that each intended product appears in the schedule and that each scheduled line has a purpose. Keep spare inventory or later phases distinguishable from furniture assigned to the current arrangement.
The finished record should let another person move between drawing and budget without guessing. Room names connect the records, configurations identify the pieces, and quantities reconcile the selection. Unresolved approvals remain visible, giving the project a practical next step instead of a misleading sense that a filled spreadsheet has settled the whole room.