Room planning
Build the room before adding the rooms together.
Start with one area and the furniture it needs. A dining room, bar, and patio may share a project budget, but separate room groups make their quantities and costs easier to discuss.
Establish what you are counting
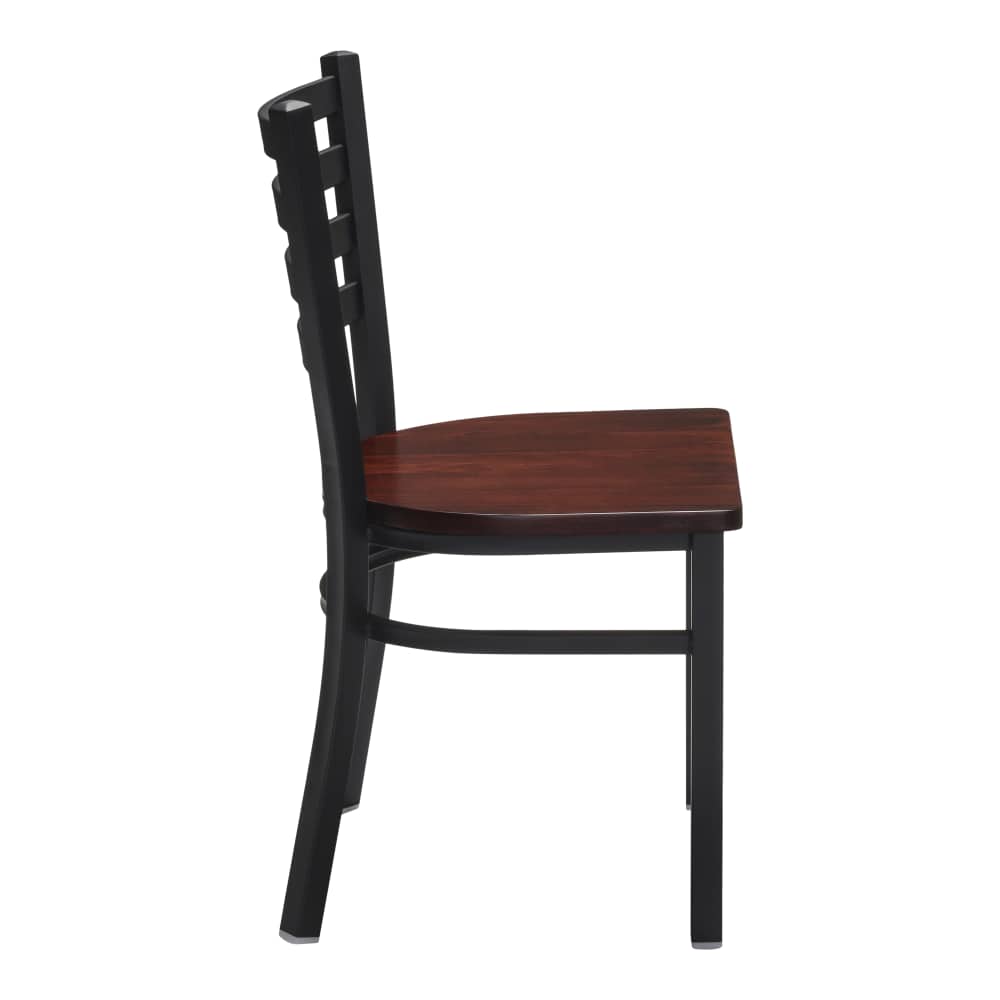
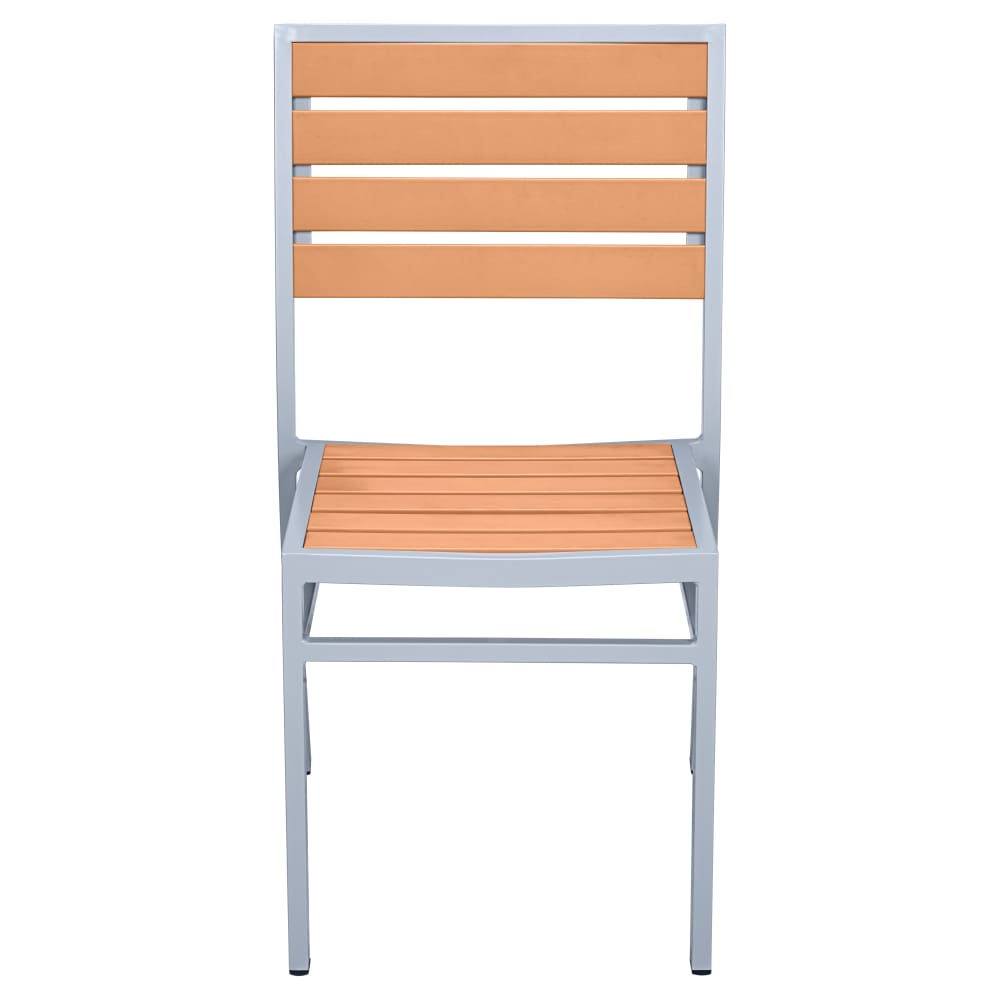
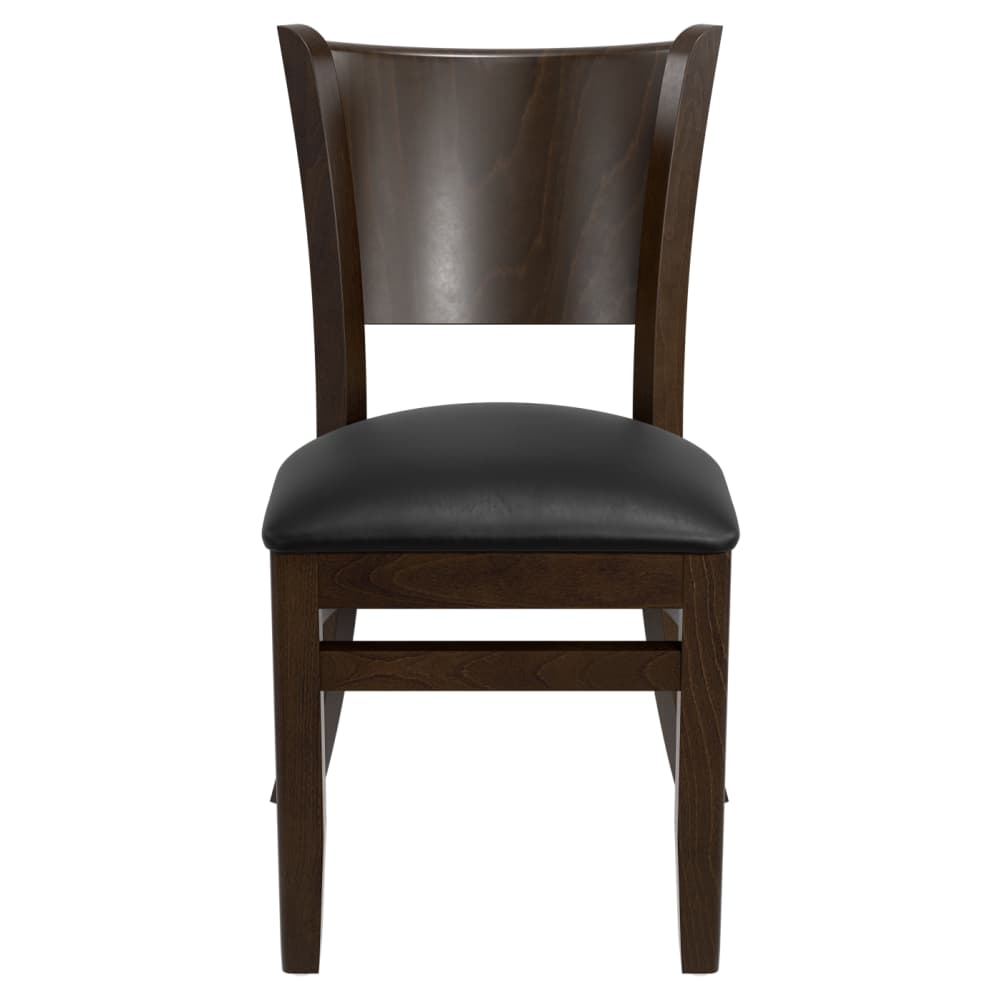
Keep chairs, bar stools, and tables on distinct configured lines. Check whether a table listing includes a base and whether a quantity refers to individual items or sets. Use the listed dimensions to develop the layout, with professional review where the project requires it.
Repeat with a reason
Duplicate a saved room when another zone needs the same furniture. Review the new name, added units, and resulting furniture total before copying. Edit the copy for its actual needs, then save it.
Keep the allowance visible
Your budget planner separates furniture costs from the allowance you enter. A layout and a budget serve different purposes; a priced selection does not establish permitted capacity, accessible circulation, or code compliance.
Start with the room you can measure
List the fixed features before choosing quantities: counters, columns, doors and the routes people need to use. Place the table footprints, then consider the chairs in use rather than only pushed beneath the tables. Product measurements help with that comparison; missing dimensions still need confirmation.
Separate the main dining seating, bar area and outdoor furniture into named groups. The group should describe a real part of the project so another person can understand where the furniture belongs.
Build a repeatable room total
Save configured items to your budget planner, set the quantities and give each line its room name. Review the furniture subtotal before adding your own freight, tax and other allowance. The allowance remains separate because it is a planning amount that you control.
Duplicate a saved room when the next area starts from the same selection. Review its dimensions and quantities after copying. An identical furniture list does not establish that two rooms can use the same layout.
Hand over a plan with fewer loose ends
Use project notes for placement details and questions that need confirmation. Keep a different finish on a separate configured line. Save the changes before downloading the project sheet so the document reflects the version you intend to share.
Before moving the project into your basket, review current prices and options. Check the receiving route alongside the room layout. A plan is ready for the next conversation when its numbers and remaining questions are both visible.